- Sort Score
- Num 10 results
- Language All
Results 411 - 420 of 1,058 for png (0.02 seconds)
-
src/main/webapp/js/admin/plugins/form-validator/file.js
c.imageRatioNotAccepted;return!1},a.formUtils.addAsyncValidator({name:"dimension",validatorFunction:function(b,d,e,g,h){if(c){var i=e.get(0).files||[],j=this;e.attr("data-validation").indexOf("mime")===-1?(alert("You should validate file type being jpg, gif or png on input "+e[0].name),b(!1)):i.length>1?(alert("Validating image dimensions does not support inputs allowing multiple files"),b(!1)):0===i.length?b(!0):f(i[0],function(c){var d=!1;e.valAttr("dimension")&&(d=a.formUtils.checkImageDimension(c,e.valAt...
Created: Tue Mar 31 13:07:34 GMT 2026 - Last Modified: Mon Jan 01 05:12:47 GMT 2018 - 4.6K bytes - Click Count (0) -
docs/ko/README.md
### 브라우저 UI - 검색 UI: http://localhost:8080/ 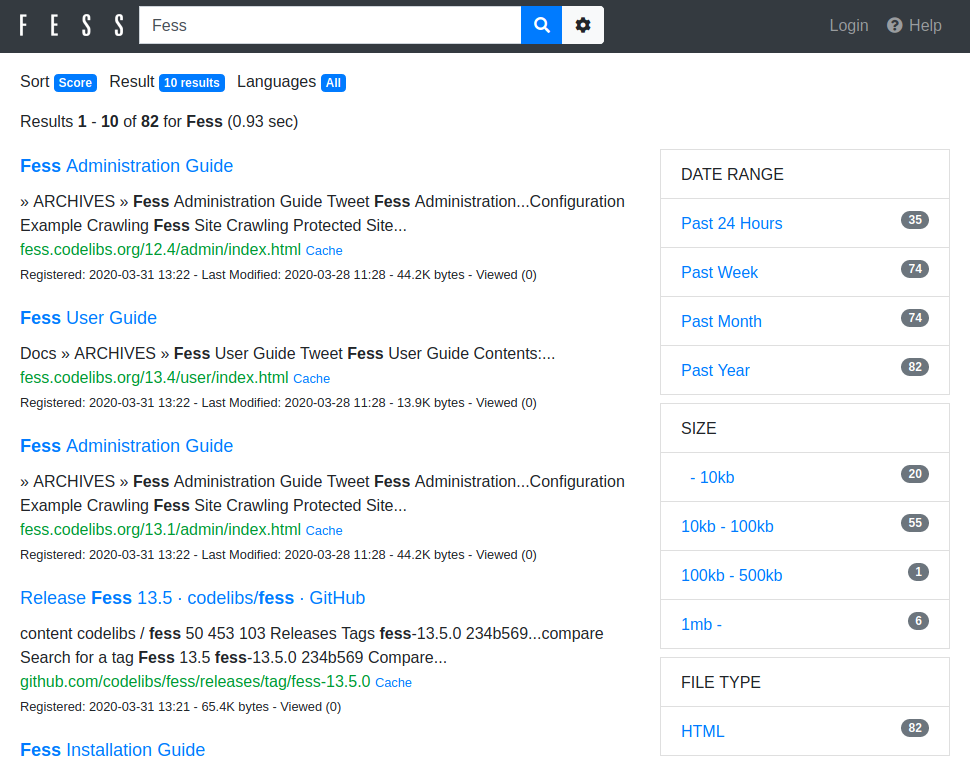 - 관리자 UI: http://localhost:8080/admin/ (기본 사용자 이름/비밀번호는 admin/admin입니다) 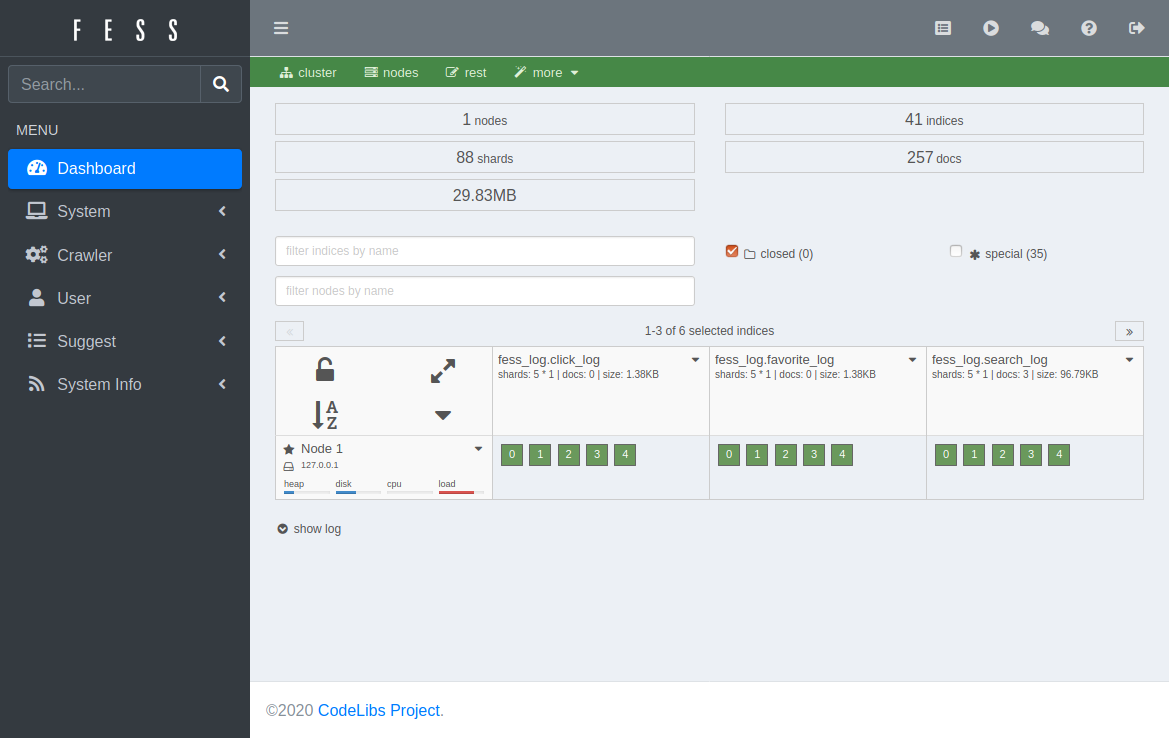 관리자 UI에서는 (웹, 파일, 데이터 저장소) 크롤러 구성 페이지에서 크롤링 대상을 등록한 다음, [스케줄러 페이지](https://fess.codelibs.org/15.3/admin/scheduler-guide.html)에서 크롤러를 수동으로 시작할 수 있습니다.
Created: Tue Mar 31 13:07:34 GMT 2026 - Last Modified: Tue Nov 11 22:42:32 GMT 2025 - 8K bytes - Click Count (1) -
docs/recipes.md
        val requestBody = MultipartBody.Builder()
            .setType(MultipartBody.FORM)
            .addFormDataPart("title", "Square Logo")
            .addFormDataPart("image", "logo-square.png",
                File("docs/images/logo-square.png").asRequestBody(MEDIA_TYPE_PNG))
            .build()

        val request = Request.Builder()
            .header("Authorization", "Client-ID $IMGUR_CLIENT_ID")
Created: Fri Apr 03 11:42:14 GMT 2026 - Last Modified: Sun Mar 15 09:01:42 GMT 2026 - 47.8K bytes - Click Count (0) -
docs/zh/docs/tutorial/schema-extra-example.md
{* ../../docs_src/schema_extra_example/tutorial003_an_py310.py hl[22:29] *}

### 文档 UI 中的示例 { #example-in-the-docs-ui }

使用上述任一方法,在 `/docs` 中看起来会是这样:

<img src="/img/tutorial/body-fields/image01.png">

### 带有多个 `examples` 的 `Body` { #body-with-multiple-examples }

当然,你也可以传入多个 `examples`:

{* ../../docs_src/schema_extra_example/tutorial004_an_py310.py hl[23:38] *}

这样做时,这些示例会成为该请求体数据内部 JSON Schema 的一部分。
Created: Sun Apr 05 07:19:11 GMT 2026 - Last Modified: Fri Mar 20 17:06:37 GMT 2026 - 8.5K bytes - Click Count (0) -
docs/zh/docs/features.md
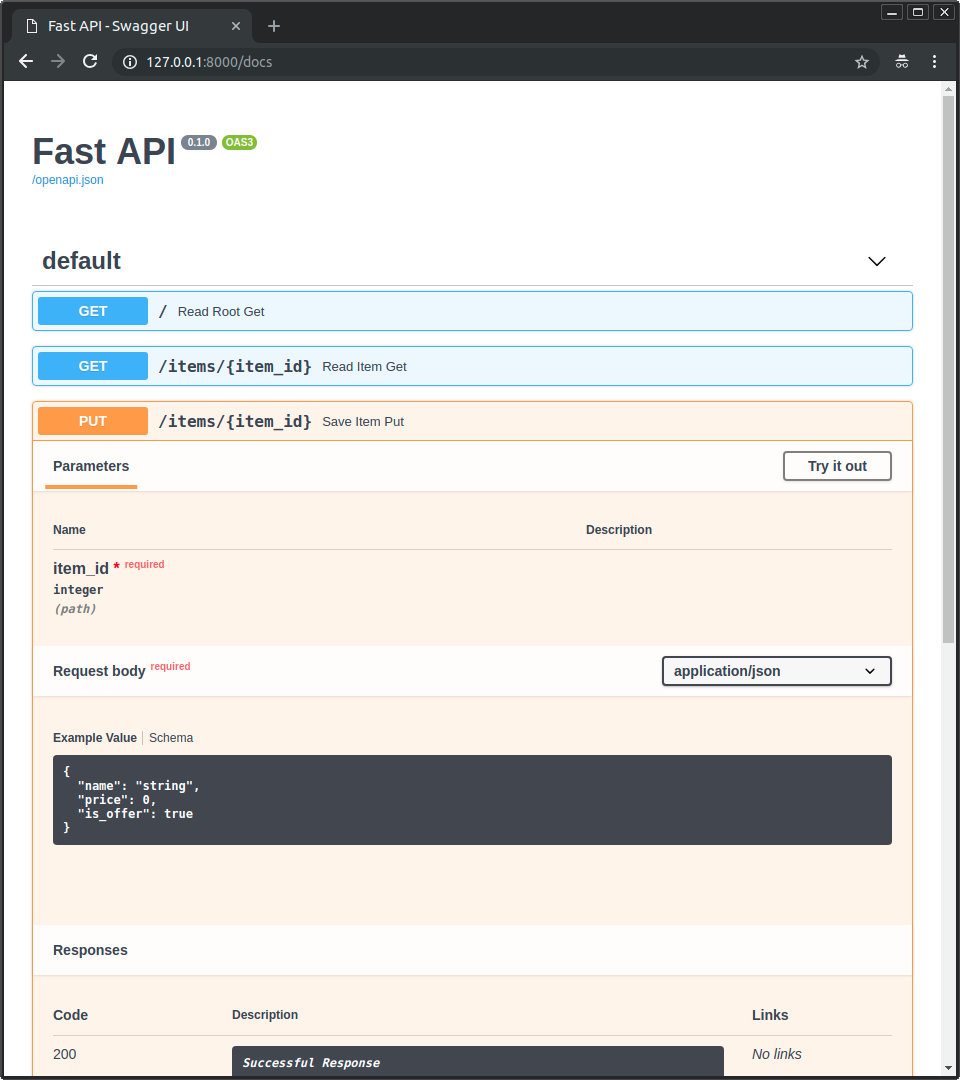 * 另外的 API 文档:[**ReDoc**](https://github.com/Rebilly/ReDoc) 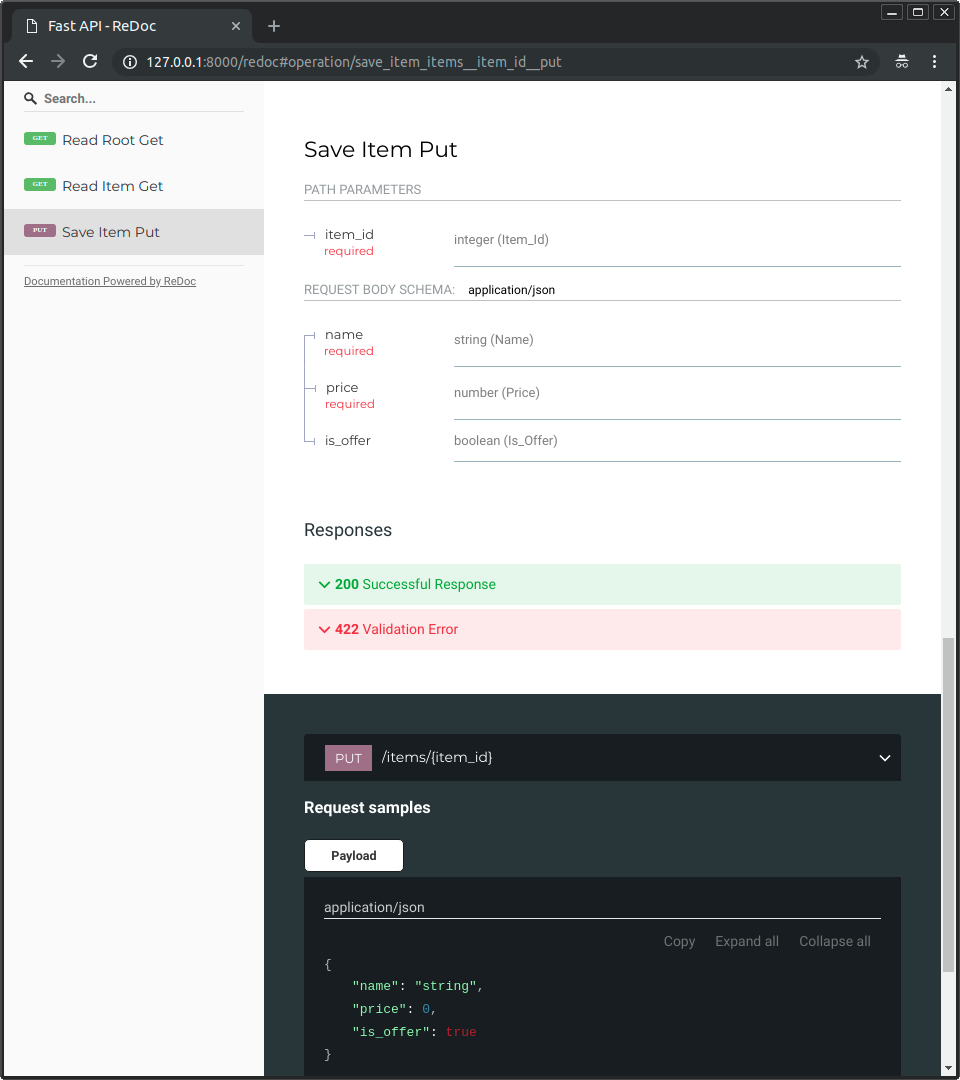 ### 更主流的 Python { #just-modern-python } 全部都基于标准的 **Python 类型** 声明(感谢 Pydantic)。没有新的语法需要学习。只需要标准的现代 Python。Created: Sun Apr 05 07:19:11 GMT 2026 - Last Modified: Fri Mar 20 17:06:37 GMT 2026 - 8.7K bytes - Click Count (0) -
docs/zh/docs/advanced/json-base64-bytes.md
{* ../../docs_src/json_base64_bytes/tutorial001_py310.py ln[1:9,29:35] hl[9] *}

查看 `/docs` 时,你会看到字段 `data` 期望接收 base64 编码的字节:

<div class="screenshot">
<img src="/img/tutorial/json-base64-bytes/image01.png">
</div>

你可以发送如下请求:

```json
{
    "description": "Some data",
    "data": "aGVsbG8="
}
```

/// tip | 提示

`aGVsbG8=` 是 `hello` 的 base64 编码。

///
Created: Sun Apr 05 07:19:11 GMT 2026 - Last Modified: Fri Mar 20 14:29:48 GMT 2026 - 2.4K bytes - Click Count (0) -
docs/zh-hant/docs/features.md
 * 使用 [**ReDoc**](https://github.com/Rebilly/ReDoc) 的替代 API 文件。  ### 現代 Python { #just-modern-python } 這一切都基於標準的 **Python 型別**宣告(感謝 Pydantic)。無需學習新的語法,只需使用標準的現代 Python。Created: Sun Apr 05 07:19:11 GMT 2026 - Last Modified: Fri Mar 20 17:05:38 GMT 2026 - 9.2K bytes - Click Count (0) -
src/main/java/org/codelibs/fess/thumbnail/impl/CommandGenerator.java
        return switch (mimeType) {
        case "image/gif" -> ".gif";
        case "image/tiff" -> ".tiff";
        case "image/svg+xml" -> ".svg";
        case "image/jpeg" -> ".jpg";
        case "image/png" -> ".png";
        case "image/bmp", "image/x-windows-bmp", "image/x-ms-bmp" -> ".bmp";
        case "image/vnd.adobe.photoshop", "image/photoshop", "application/x-photoshop", "application/photoshop" -> ".psd";
        default -> "";
Created: Tue Mar 31 13:07:34 GMT 2026 - Last Modified: Thu Jan 01 12:47:47 GMT 2026 - 16.6K bytes - Click Count (0) -
docs/ja/docs/features.md
 * [**ReDoc**](https://github.com/Rebilly/ReDoc) による代替の API ドキュメント。  ### 現代的なPythonのみ { #just-modern-python } すべて標準の **Python の型** 宣言(Pydantic に感謝)に基づいています。新しい構文を学ぶ必要はありません。標準的でモダンな Python だけです。Created: Sun Apr 05 07:19:11 GMT 2026 - Last Modified: Fri Mar 20 14:07:17 GMT 2026 - 11.6K bytes - Click Count (0) -
docs/en/docs/advanced/behind-a-proxy.md
<img src="/img/tutorial/behind-a-proxy/image01.png">

But if we access the docs UI at the "official" URL using the proxy with port `9999`, at `/api/v1/docs`, it works correctly! 🎉

You can check it at [http://127.0.0.1:9999/api/v1/docs](http://127.0.0.1:9999/api/v1/docs):

<img src="/img/tutorial/behind-a-proxy/image02.png">

Right as we wanted it. ✔️
Created: Sun Apr 05 07:19:11 GMT 2026 - Last Modified: Thu Mar 05 18:13:19 GMT 2026 - 15.8K bytes - Click Count (0)