- Sort Score
- Num 10 results
- Language All
Results 661 - 670 of 1,058 for png (0.01 seconds)
-
docs/bucket/quota/README.md
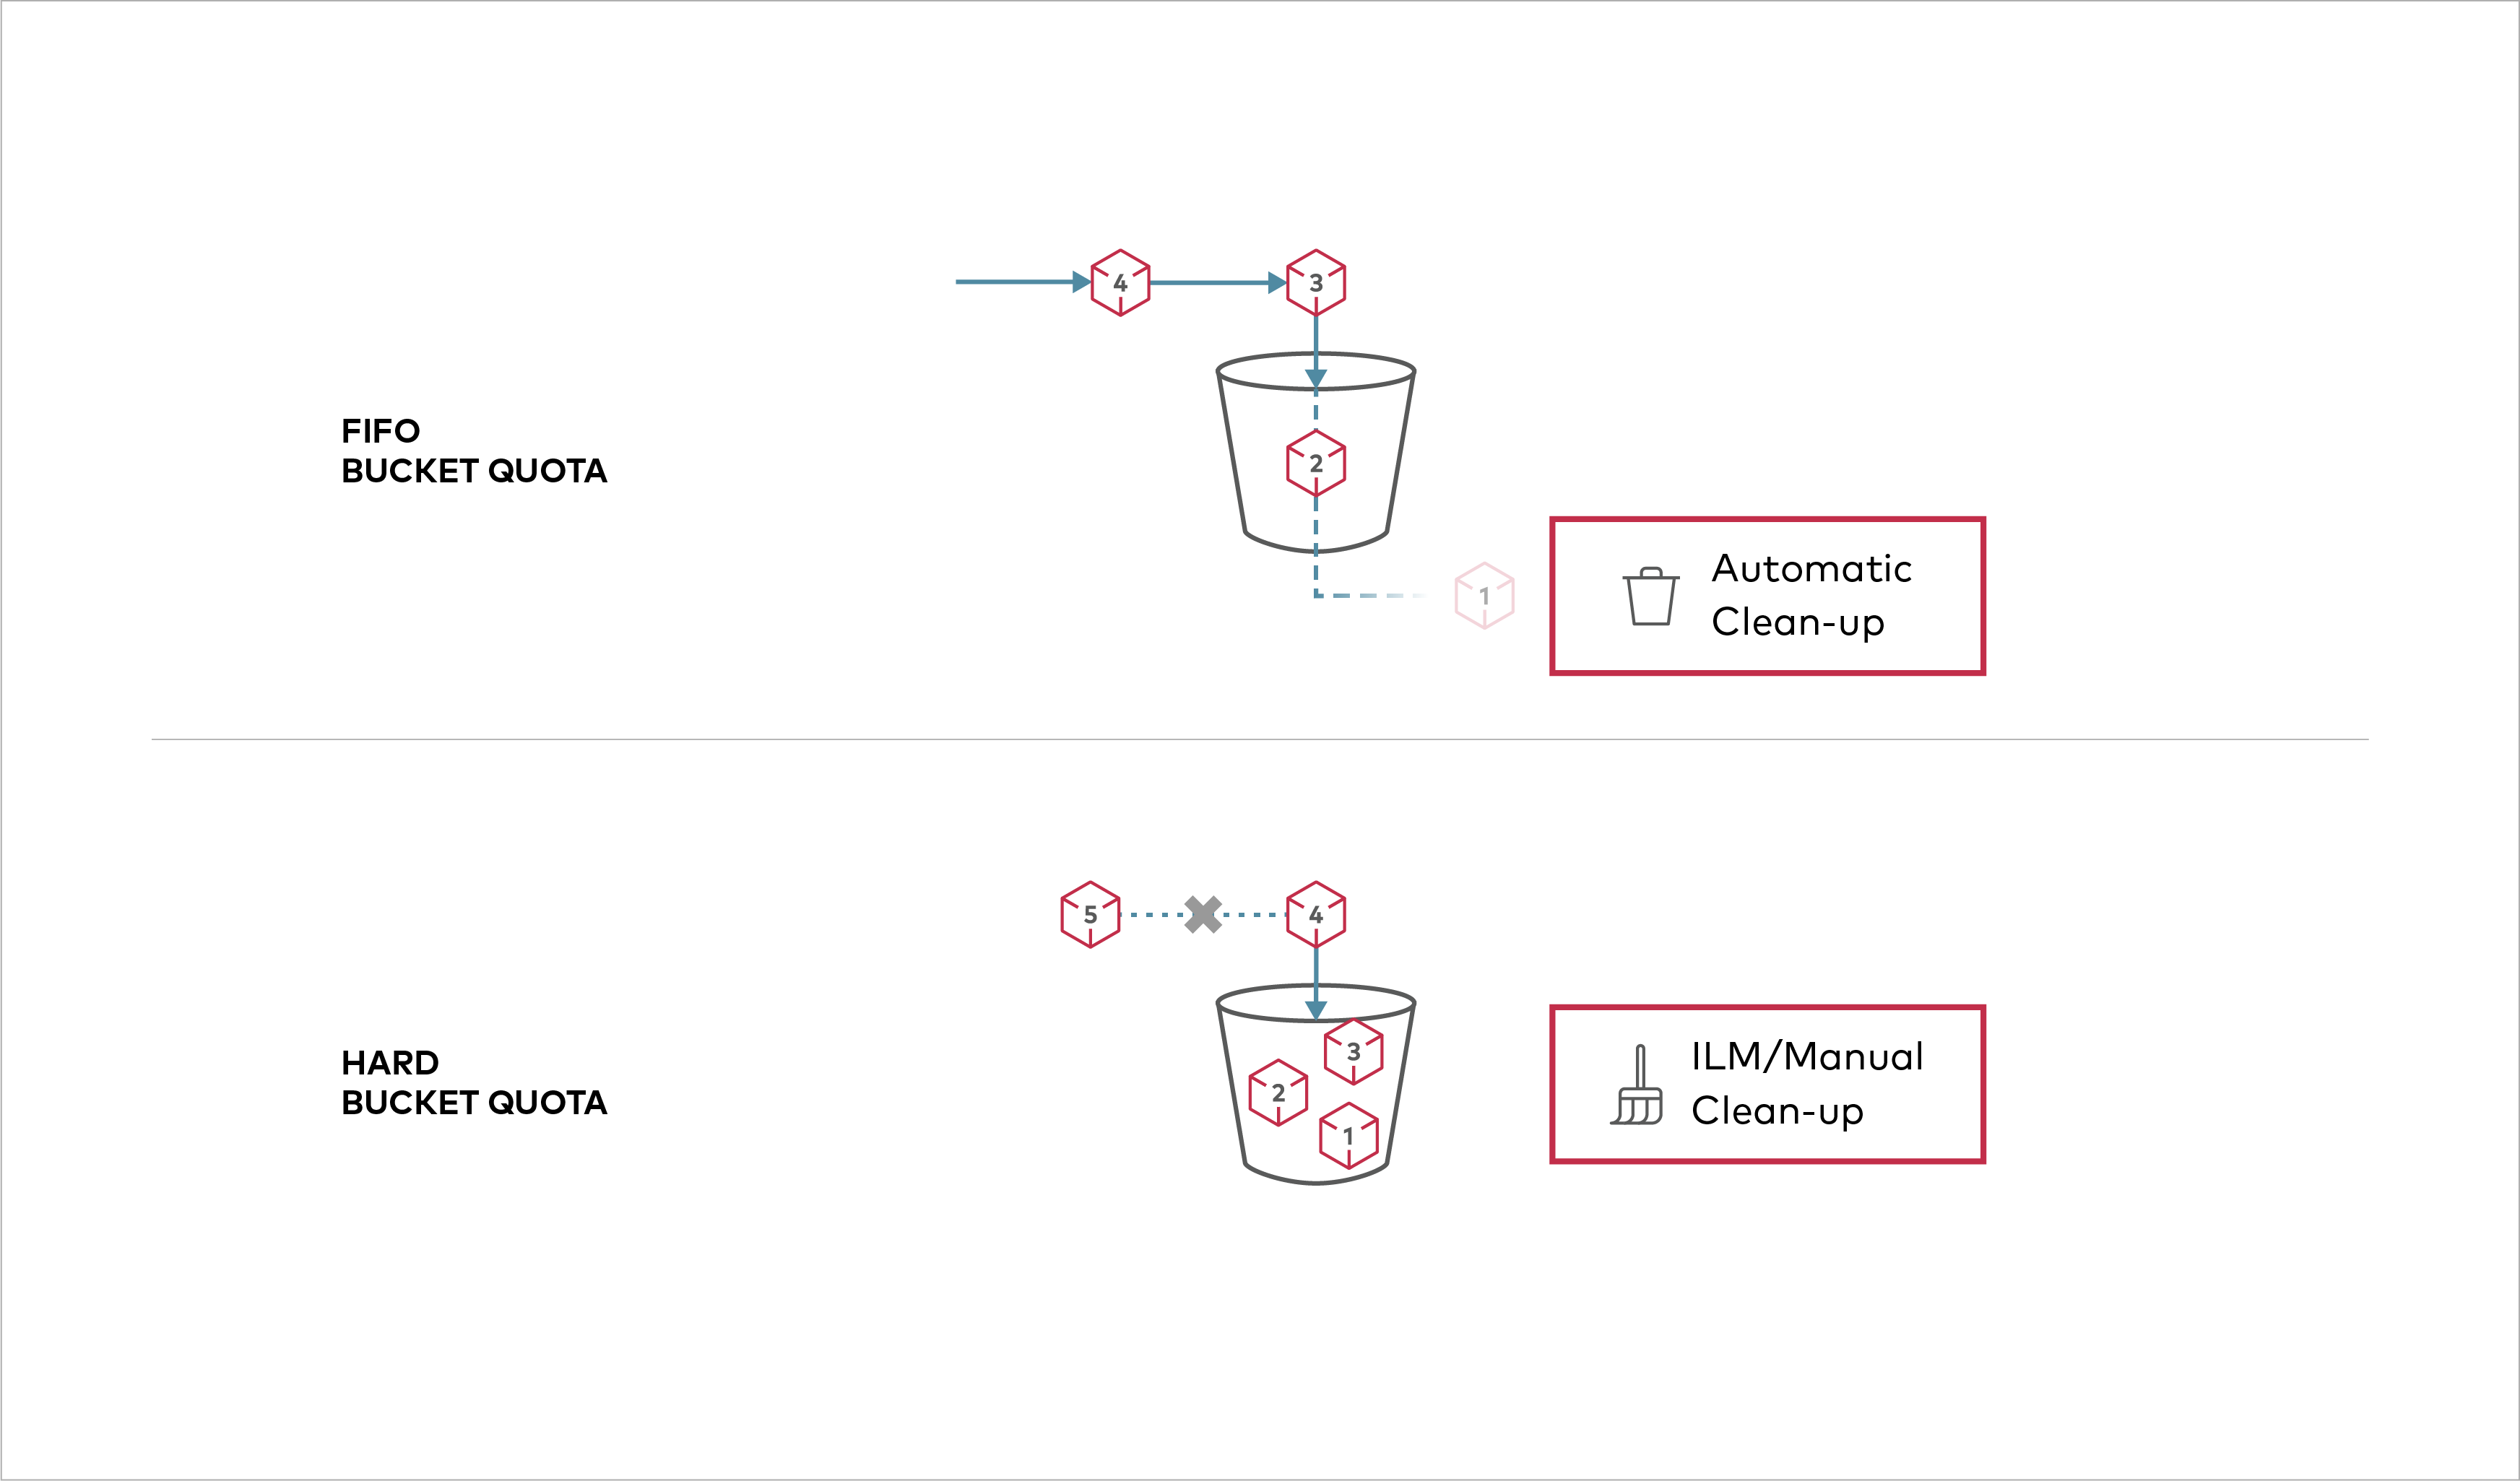 Buckets can be configured to have `Hard` quota - it disallows writes to the bucket after configured quota limit is reached. ## Prerequisites
Created: Sun Apr 05 19:28:12 GMT 2026 - Last Modified: Tue Aug 12 18:20:36 GMT 2025 - 1.1K bytes - Click Count (0) -
docs/uk/docs/tutorial/metadata.md
У полі `description` можна використовувати Markdown, і він буде відображатися у результаті.

///

З цією конфігурацією автоматична документація API виглядатиме так:

<img src="/img/tutorial/metadata/image01.png">

## Ідентифікатор ліцензії { #license-identifier }

З початку використання OpenAPI 3.1.0 та FastAPI 0.99.0 Ви також можете налаштувати `license_info` за допомогою `identifier` замість `url`.

Наприклад:
Created: Sun Apr 05 07:19:11 GMT 2026 - Last Modified: Thu Mar 19 18:27:41 GMT 2026 - 8.8K bytes - Click Count (0) -
docs/fr/docs/tutorial/path-params.md
Et lorsque vous ouvrez votre navigateur sur [http://127.0.0.1:8000/docs](http://127.0.0.1:8000/docs), vous verrez une documentation d'API automatique et interactive comme :

<img src="/img/tutorial/path-params/image01.png">

/// check | Vérifications

À nouveau, simplement avec cette même déclaration de type Python, **FastAPI** vous fournit une documentation interactive automatique (intégrant Swagger UI).
Created: Sun Apr 05 07:19:11 GMT 2026 - Last Modified: Thu Mar 19 18:37:13 GMT 2026 - 10.1K bytes - Click Count (0) -
docs/de/docs/tutorial/metadata.md
Sie können Markdown im Feld `description` verwenden, und es wird in der Ausgabe gerendert.

///

Mit dieser Konfiguration würde die automatische API-Dokumentation wie folgt aussehen:

<img src="/img/tutorial/metadata/image01.png">

## Lizenzkennung { #license-identifier }

Seit OpenAPI 3.1.0 und FastAPI 0.99.0 können Sie die `license_info` auch mit einem `identifier` anstelle einer `url` festlegen.

Zum Beispiel:
Created: Sun Apr 05 07:19:11 GMT 2026 - Last Modified: Thu Mar 19 17:58:09 GMT 2026 - 6.8K bytes - Click Count (0) -
docs/es/docs/tutorial/metadata.md
Puedes escribir Markdown en el campo `description` y se mostrará en el resultado.

///

Con esta configuración, la documentación automática de la API se vería así:

<img src="/img/tutorial/metadata/image01.png">

## Identificador de licencia { #license-identifier }

Desde OpenAPI 3.1.0 y FastAPI 0.99.0, también puedes establecer la `license_info` con un `identifier` en lugar de una `url`.

Por ejemplo:
Created: Sun Apr 05 07:19:11 GMT 2026 - Last Modified: Thu Mar 19 18:15:55 GMT 2026 - 6.3K bytes - Click Count (0) -
scripts/tests/test_translation_fixer/test_complex_doc/data/translated_doc_expected.md
### Markdown ссылки на статические ресурсы { #markdown-link-to-static-assets }

Это ссылки на статические ресурсы:

* [FastAPI Logo](https://fastapi.tiangolo.com/img/fastapi-logo.png)
* [FastAPI CSS](https://fastapi.tiangolo.com/css/fastapi.css)
* [FastAPI JS](https://fastapi.tiangolo.com/js/fastapi.js)

Инструмент НЕ должен добавлять код языка в их URL.
Created: Sun Apr 05 07:19:11 GMT 2026 - Last Modified: Tue Feb 17 08:08:04 GMT 2026 - 10.9K bytes - Click Count (0) -
docs/tr/docs/tutorial/request-form-models.md
## Dokümanları Kontrol Edin { #check-the-docs }

Bunu `/docs` altındaki doküman arayüzünde doğrulayabilirsiniz:

<div class="screenshot">
<img src="/img/tutorial/request-form-models/image01.png">
</div>

## Fazladan Form Field'larını Yasaklayın { #forbid-extra-form-fields }
Created: Sun Apr 05 07:19:11 GMT 2026 - Last Modified: Fri Mar 20 07:53:17 GMT 2026 - 2.4K bytes - Click Count (0) -
docs/fr/docs/tutorial/security/simple-oauth2.md
Utilisez les identifiants :

Utilisateur : `johndoe`

Mot de passe : `secret`

<img src="/img/tutorial/security/image04.png">

Après vous être authentifié dans le système, vous verrez ceci :

<img src="/img/tutorial/security/image05.png">

### Obtenir vos propres données utilisateur { #get-your-own-user-data }

Utilisez maintenant l'opération `GET` avec le chemin `/users/me`.
Created: Sun Apr 05 07:19:11 GMT 2026 - Last Modified: Thu Mar 19 18:37:13 GMT 2026 - 11.2K bytes - Click Count (0) -
docs/pt/docs/tutorial/security/simple-oauth2.md
Clique no botão "Authorize".

Use as credenciais:

User: `johndoe`

Password: `secret`

<img src="/img/tutorial/security/image04.png">

Após autenticar no sistema, você verá assim:

<img src="/img/tutorial/security/image05.png">

### Obtenha seus próprios dados de usuário { #get-your-own-user-data }

Agora use a operação `GET` com o caminho `/users/me`.
Created: Sun Apr 05 07:19:11 GMT 2026 - Last Modified: Thu Mar 19 18:20:43 GMT 2026 - 10.2K bytes - Click Count (0) -
docs/tr/docs/tutorial/query-param-models.md
## Dokümanları Kontrol Edin { #check-the-docs }

Query parameter’ları `/docs` altındaki dokümantasyon arayüzünde görebilirsiniz:

<div class="screenshot">
<img src="/img/tutorial/query-param-models/image01.png">
</div>

## Ek Query Parameter'ları Yasaklayın { #forbid-extra-query-parameters }

Bazı özel kullanım senaryolarında (muhtemelen çok yaygın değil), almak istediğiniz query parameter’ları **kısıtlamak** isteyebilirsiniz.
Created: Sun Apr 05 07:19:11 GMT 2026 - Last Modified: Thu Feb 05 15:43:38 GMT 2026 - 2.4K bytes - Click Count (0)