- Sort Score
- Result 10 results
- Languages All
Results 361 - 370 of 736 for PNG (0.17 sec)
-
samples/static-server/src/main/java/okhttp3/sample/SampleServer.java
    Buffer result = new Buffer();
    result.writeAll(Okio.source(file));
    return result;
  }

  private String contentType(String path) {
    if (path.endsWith(".png")) return "image/png";
    if (path.endsWith(".jpg")) return "image/jpeg";
    if (path.endsWith(".jpeg")) return "image/jpeg";
    if (path.endsWith(".gif")) return "image/gif";
Registered: Fri Sep 05 11:42:10 UTC 2025 - Last Modified: Wed Jan 02 02:50:44 UTC 2019 - 4.7K bytes - Viewed (0) -
docs/fa/docs/advanced/sub-applications.md
<img src="/img/tutorial/sub-applications/image01.png">

و سپس اسناد زیر برنامه را در آدرس <a href="http://127.0.0.1:8000/subapi/docs" class="external-link" target="_blank">http://127.0.0.1:8000/subapi/docs</a>. باز کنید.

اسناد API خودکار برای زیر برنامه را خواهید دید، که فقط شامل path operations خود می شود، همه در زیر مسیر `/subapi` قرار دارند:

<img src="/img/tutorial/sub-applications/image02.png">
Registered: Sun Sep 07 07:19:17 UTC 2025 - Last Modified: Mon Nov 18 02:25:44 UTC 2024 - 4K bytes - Viewed (0) -
docs/es/docs/features.md
 * Documentación alternativa de API con <a href="https://github.com/Rebilly/ReDoc" class="external-link" target="_blank"><strong>ReDoc</strong></a>.  ### Solo Python moderno
Registered: Sun Sep 07 07:19:17 UTC 2025 - Last Modified: Mon Dec 30 17:46:44 UTC 2024 - 10.4K bytes - Viewed (0) -
docs/yo/docs/index.md
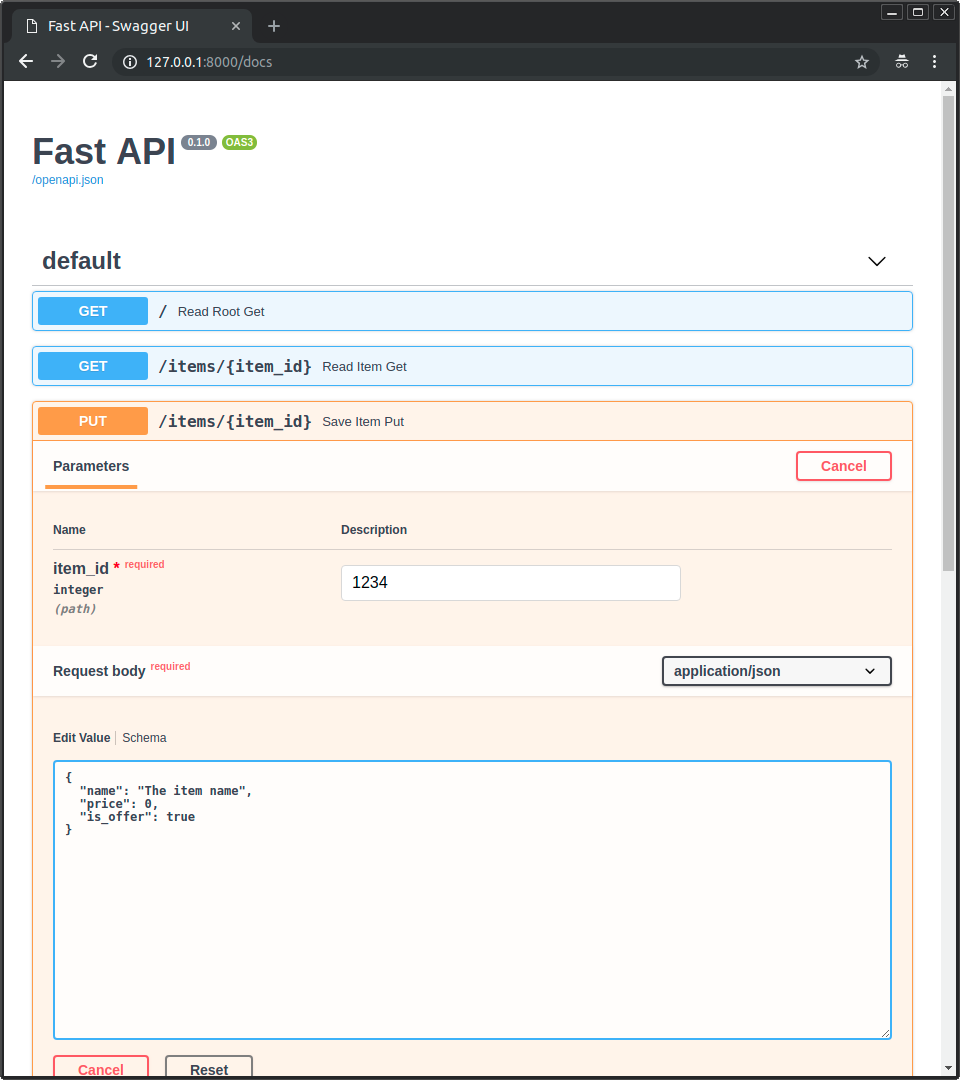
 * Tẹ bọtini "Gbiyanju rẹ" i.e. "Try it out", yóò gbà ọ́ láàyè láti jẹ́ kí ó tẹ́ àlàyé tí ó nílò kí ó le sọ̀rọ̀ tààrà pẹ̀lú API: 
Registered: Sun Sep 07 07:19:17 UTC 2025 - Last Modified: Sun Aug 31 10:49:48 UTC 2025 - 24.1K bytes - Viewed (0) -
docs/fa/docs/index.md
 * روی دکمه "Try it out" کلیک کنید، اکنون میتوانید پارامترهای مورد نیاز هر API را مشخص کرده و به صورت مستقیم با آنها تعامل کنید: 
Registered: Sun Sep 07 07:19:17 UTC 2025 - Last Modified: Sun Aug 31 10:49:48 UTC 2025 - 26K bytes - Viewed (0) -
src/archive/zip/testdata/test.zip
test.txt This is a test text file. gophercolor16x16.png...
Registered: Tue Sep 09 11:13:09 UTC 2025 - Last Modified: Mon Sep 08 04:08:51 UTC 2014 - 1.1K bytes - Viewed (0) -
docs/de/docs/tutorial/path-params.md
<img src="/img/tutorial/path-params/image01.png">

/// check

Wiederum, mit dieser gleichen Python-Typdeklaration gibt Ihnen **FastAPI** eine automatische, interaktive Dokumentation (verwendet die Swagger-Benutzeroberfläche).
Registered: Sun Sep 07 07:19:17 UTC 2025 - Last Modified: Sun Aug 31 10:29:01 UTC 2025 - 10K bytes - Viewed (0) -
docs/de/docs/tutorial/security/simple-oauth2.md
Verwenden Sie die Anmeldedaten:

Benutzer: `johndoe`

Passwort: `secret`.

<img src="/img/tutorial/security/image04.png">

Nach der Authentifizierung im System sehen Sie Folgendes:

<img src="/img/tutorial/security/image05.png">

### Die eigenen Benutzerdaten ansehen

Verwenden Sie nun die Operation `GET` mit dem Pfad `/users/me`.

Sie erhalten Ihre Benutzerdaten:
Registered: Sun Sep 07 07:19:17 UTC 2025 - Last Modified: Mon Nov 18 02:25:44 UTC 2024 - 10.7K bytes - Viewed (0) -
docs/en/docs/tutorial/security/first-steps.md
<img src="/img/tutorial/security/image01.png">

/// check | Authorize button!

You already have a shiny new "Authorize" button.

And your *path operation* has a little lock in the top-right corner that you can click.

///

And if you click it, you have a little authorization form to type a `username` and `password` (and other optional fields):

<img src="/img/tutorial/security/image02.png">

/// note
Registered: Sun Sep 07 07:19:17 UTC 2025 - Last Modified: Sun Aug 31 09:15:41 UTC 2025 - 8.4K bytes - Viewed (0) -
docs/es/docs/tutorial/security/simple-oauth2.md
Haz clic en el botón "Authorize".

Usa las credenciales:

Usuario: `johndoe`

Contraseña: `secret`

<img src="/img/tutorial/security/image04.png">

Después de autenticarte en el sistema, lo verás así:

<img src="/img/tutorial/security/image05.png">

### Obtener tus propios datos de usuario

Ahora usa la operación `GET` con la path `/users/me`.

Obtendrás los datos de tu usuario, como:
Registered: Sun Sep 07 07:19:17 UTC 2025 - Last Modified: Mon Dec 30 18:26:57 UTC 2024 - 9.9K bytes - Viewed (0)