- Sort Score
- Result 10 results
- Languages All
Results 11 - 20 of 61 for execute (0.36 sec)
-
docs/pt/docs/tutorial/first-steps.md
# Primeiros Passos

O arquivo FastAPI mais simples pode se parecer com:

```Python
{!../../../docs_src/first_steps/tutorial001.py!}
```

Copie o conteúdo para um arquivo `main.py`.

Execute o servidor:

<div class="termy">

```console
$ uvicorn main:app --reload

<span style="color: green;">INFO</span>:     Uvicorn running on http://127.0.0.1:8000 (Press CTRL+C to quit)
Plain Text - Registered: Sun May 05 07:19:11 GMT 2024 - Last Modified: Thu Apr 18 19:53:19 GMT 2024 - 9.6K bytes - Viewed (0) -
docs/hu/docs/index.md
 * Ezután kattints az "Execute" gompra, a felhasználói felület kommunikálni fog az API-oddal. Elküldi a paramétereket és a visszakapott választ megmutatja a képernyődön. 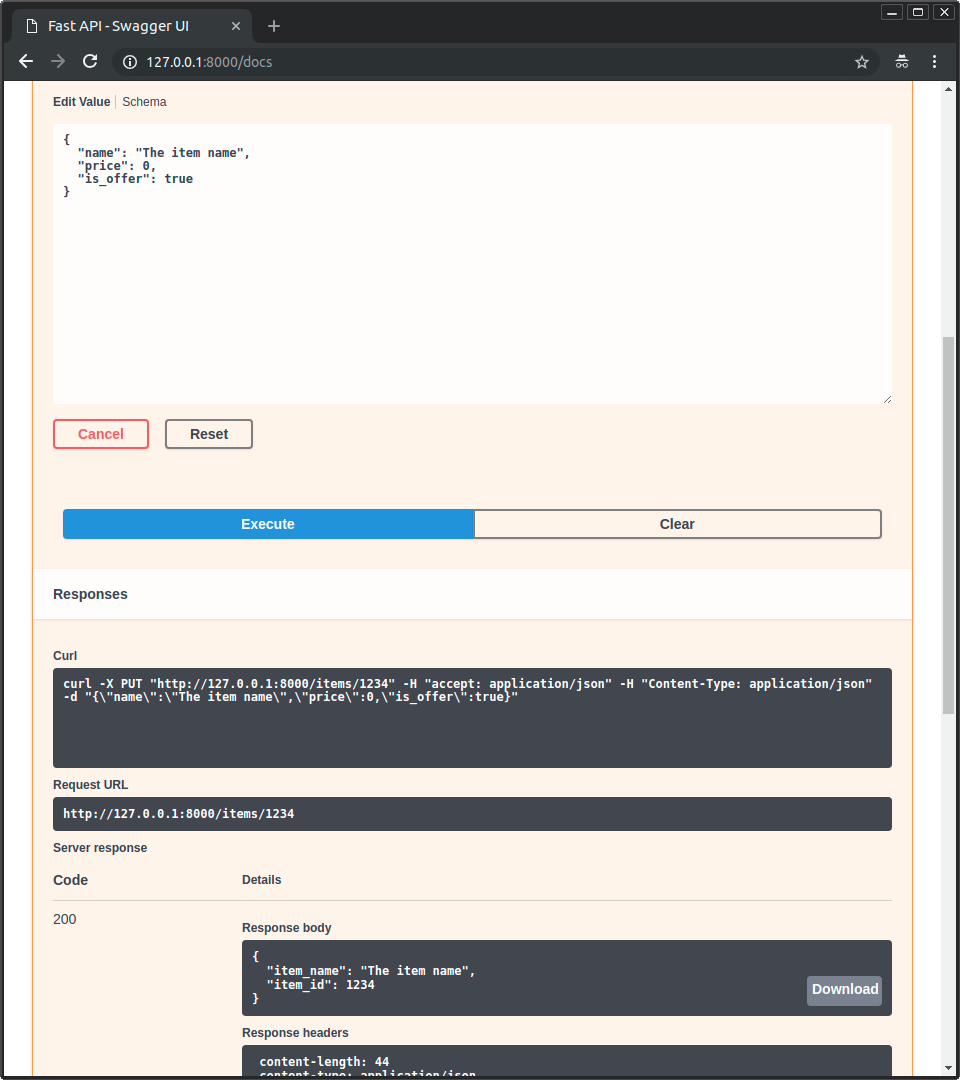
Plain Text - Registered: Sun May 05 07:19:11 GMT 2024 - Last Modified: Mon Apr 29 05:18:04 GMT 2024 - 20.2K bytes - Viewed (0) -
docs/es/docs/index.md
 * Luego haz click en el botón de "Execute". La interfaz de usuario se comunicará con tu API, enviará los parámetros y recibirá los resultados para mostrarlos en pantalla: 
Plain Text - Registered: Sun May 05 07:19:11 GMT 2024 - Last Modified: Mon Apr 29 05:18:04 GMT 2024 - 19K bytes - Viewed (0) -
docs/en/docs/advanced/events.md
You can define logic (code) that should be executed before the application **starts up**. This means that this code will be executed **once**, **before** the application **starts receiving requests**.

The same way, you can define logic (code) that should be executed when the application is **shutting down**. In this case, this code will be executed **once**, **after** having handled possibly **many requests**.
Plain Text - Registered: Sun May 05 07:19:11 GMT 2024 - Last Modified: Thu Apr 18 19:53:19 GMT 2024 - 7.8K bytes - Viewed (0) -
docs/bn/docs/index.md
- "Try it out" বাটনে চাপুন, এটি আপনাকে পেরামিটারগুলো পূরণ করতে এবং API এর সাথে সরাসরি ক্রিয়া-কলাপ করতে দিবে:  - তারপরে "Execute" বাটনে চাপুন, ব্যবহারকারীর ইন্টারফেস আপনার API এর সাথে যোগাযোগ করবে, পেরামিটার পাঠাবে, ফলাফলগুলি পাবে এবং সেগুলি পর্রদায় দেখাবে: 
Plain Text - Registered: Sun May 05 07:19:11 GMT 2024 - Last Modified: Thu Apr 18 23:58:47 GMT 2024 - 30.2K bytes - Viewed (0) -
docs/fr/docs/tutorial/path-params.md
```Python hl_lines="6-7"
{!../../../docs_src/path_params/tutorial001.py!}
```

La valeur du paramètre `item_id` sera transmise à la fonction dans l'argument `item_id`.

Donc, si vous exécutez cet exemple et allez sur <a href="http://127.0.0.1:8000/items/foo" class="external-link" target="_blank">http://127.0.0.1:8000/items/foo</a>,
vous verrez comme réponse :

```JSON
{"item_id":"foo"}
```
Plain Text - Registered: Sun May 05 07:19:11 GMT 2024 - Last Modified: Thu Apr 18 19:53:19 GMT 2024 - 10K bytes - Viewed (0) -
docs/pt/docs/tutorial/security/first-steps.md
```Python
{!../../../docs_src/security/tutorial001.py!}
```

## Execute-o

!!! info "informação"
	Primeiro, instale <a href="https://github.com/Kludex/python-multipart" class="external-link" target="_blank">`python-multipart`</a>.

	Ex: `pip install python-multipart`.

	Isso ocorre porque o **OAuth2** usa "dados de um formulário" para mandar o **username** e **senha**.

Execute esse exemplo com:

<div class="termy">

```console
Plain Text - Registered: Sun May 05 07:19:11 GMT 2024 - Last Modified: Thu Apr 18 19:53:19 GMT 2024 - 8.3K bytes - Viewed (0) -
docs/en/docs/advanced/security/http-basic-auth.md
        Prefer to use the `Annotated` version if possible.

    ```Python hl_lines="2  6  10"
    {!> ../../../docs_src/security/tutorial006.py!}
    ```

When you try to open the URL for the first time (or click the "Execute" button in the docs) the browser will ask you for your username and password:

<img src="/img/tutorial/security/image12.png">

## Check the username

Here's a more complete example.
Plain Text - Registered: Sun May 05 07:19:11 GMT 2024 - Last Modified: Thu Jan 11 14:33:05 GMT 2024 - 5.9K bytes - Viewed (0) -
docs/de/docs/advanced/security/http-basic-auth.md
    ```Python hl_lines="2  6  10"
    {!> ../../../docs_src/security/tutorial006.py!}
    ```

Wenn Sie versuchen, die URL zum ersten Mal zu öffnen (oder in der Dokumentation auf den Button „Execute“ zu klicken), wird der Browser Sie nach Ihrem Benutzernamen und Passwort fragen:

<img src="/img/tutorial/security/image12.png">

## Den Benutzernamen überprüfen

Hier ist ein vollständigeres Beispiel.
Plain Text - Registered: Sun May 05 07:19:11 GMT 2024 - Last Modified: Sat Mar 30 20:28:08 GMT 2024 - 6.9K bytes - Viewed (0) -
docs/zh/docs/advanced/security/http-basic-auth.md
* 在*路径操作*的依赖项中使用 `security`
* 返回类型为 `HTTPBasicCredentials` 的对象:
    * 包含发送的 `username` 与 `password`

```Python hl_lines="2  6  10"
{!../../../docs_src/security/tutorial006.py!}
```

第一次打开 URL(或在 API 文档中点击 **Execute** 按钮)时,浏览器要求输入用户名与密码:

<img src="/img/tutorial/security/image12.png">

## 检查用户名

以下是更完整的示例。

使用依赖项检查用户名与密码是否正确。
Plain Text - Registered: Sun May 05 07:19:11 GMT 2024 - Last Modified: Sat Mar 30 22:43:48 GMT 2024 - 3.9K bytes - Viewed (0)