- Sort Score
- Result 10 results
- Languages All
Results 1 - 10 of 15 for github (0.25 sec)
-
docs/pt/docs/tutorial/first-steps.md
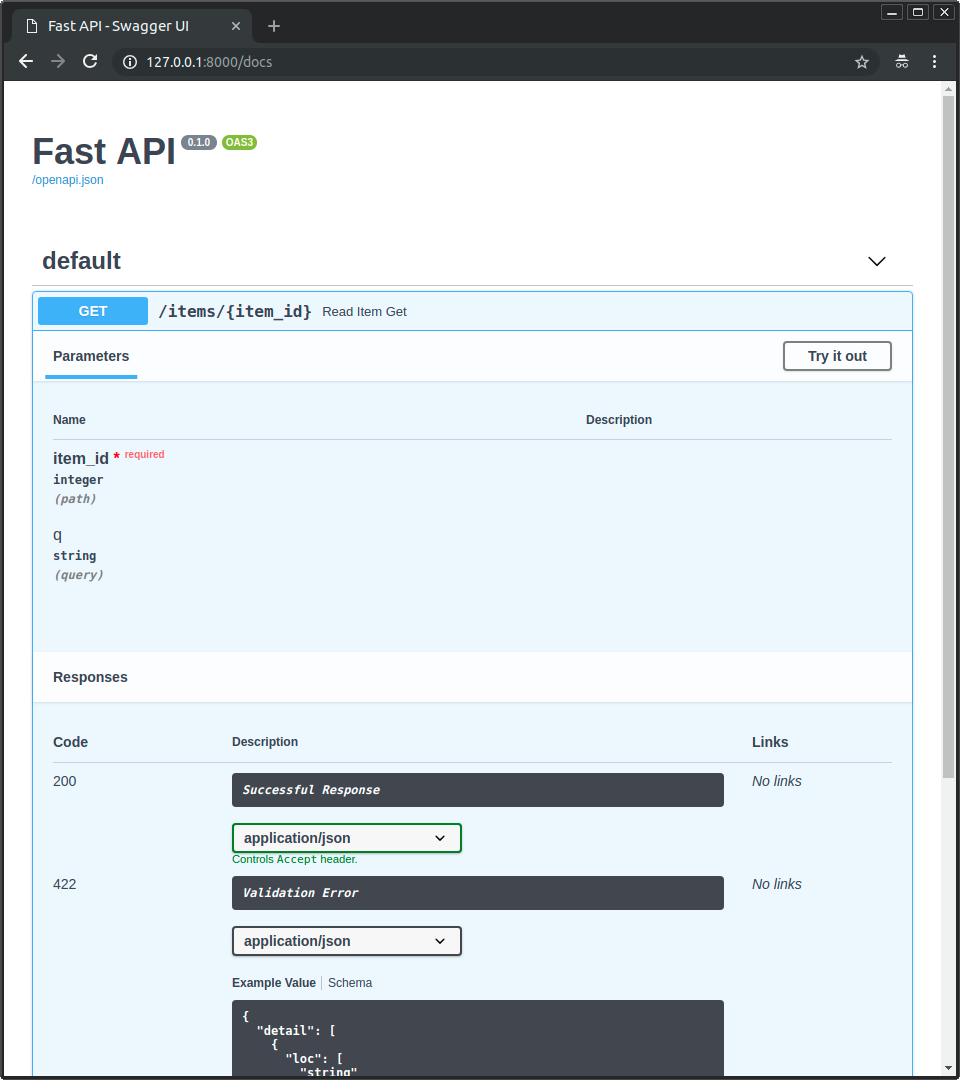
Agora vá para <a href="http://127.0.0.1:8000/docs" class="external-link" target="_blank">http://127.0.0.1:8000/docs</a>. Você verá a documentação interativa automática da API (fornecida por <a href="https://github.com/swagger-api/swagger-ui" class="external-link" target="_blank">Swagger UI</a>):  ### Documentação Alternativa de APIs
Plain Text - Registered: Sun May 05 07:19:11 GMT 2024 - Last Modified: Thu Apr 18 19:53:19 GMT 2024 - 9.6K bytes - Viewed (0) -
docs/ko/docs/tutorial/first-steps.md
자동 대화형 API 문서를 볼 수 있습니다 (<a href="https://github.com/swagger-api/swagger-ui" class="external-link" target="_blank">Swagger UI</a> 제공):  ### 대안 API 문서 그리고 이제, <a href="http://127.0.0.1:8000/redoc" class="external-link" target="_blank">http://127.0.0.1:8000/redoc</a>로 가봅니다.
Plain Text - Registered: Sun May 05 07:19:11 GMT 2024 - Last Modified: Thu Apr 18 19:53:19 GMT 2024 - 10.5K bytes - Viewed (0) -
docs/es/docs/tutorial/first-steps.md
Ahora dirígete a <a href="http://127.0.0.1:8000/docs" class="external-link" target="_blank">http://127.0.0.1:8000/docs</a>. Ahí verás la documentación automática e interactiva de la API (proveída por <a href="https://github.com/swagger-api/swagger-ui" class="external-link" target="_blank">Swagger UI</a>):  ### Documentación alternativa de la API
Plain Text - Registered: Sun May 05 07:19:11 GMT 2024 - Last Modified: Thu Apr 18 19:53:19 GMT 2024 - 9.9K bytes - Viewed (0) -
docs/em/docs/tutorial/security/first-steps.md
## ✍ `main.py` 📁 🖼 📁 `main.py`: ```Python {!../../../docs_src/security/tutorial001.py!} ``` ## 🏃 ⚫️ !!! info 🥇 ❎ <a href="https://github.com/Kludex/python-multipart" class="external-link" target="_blank">`python-multipart`</a>. 🤶 Ⓜ. `pip install python-multipart`. 👉 ↩️ **Oauth2️⃣** ⚙️ "📨 📊" 📨 `username` & `password`. 🏃 🖼 ⏮️:Plain Text - Registered: Sun May 05 07:19:11 GMT 2024 - Last Modified: Wed Mar 13 19:02:19 GMT 2024 - 6.8K bytes - Viewed (0) -
docs/pt/docs/tutorial/security/first-steps.md
## Crie um `main.py`
Copie o exemplo em um arquivo `main.py`:

```Python
{!../../../docs_src/security/tutorial001.py!}
```

## Execute-o

!!! info "informação"
	Primeiro, instale <a href="https://github.com/Kludex/python-multipart" class="external-link" target="_blank">`python-multipart`</a>.

	Ex: `pip install python-multipart`.
Plain Text - Registered: Sun May 05 07:19:11 GMT 2024 - Last Modified: Thu Apr 18 19:53:19 GMT 2024 - 8.3K bytes - Viewed (0) -
docs/ru/docs/tutorial/security/first-steps.md
Plain Text - Registered: Sun May 05 07:19:11 GMT 2024 - Last Modified: Wed Mar 13 19:02:19 GMT 2024 - 15.4K bytes - Viewed (0) -
docs/zh/docs/tutorial/security/first-steps.md
    !!! tip
        尽可能选择使用 `Annotated` 的版本。

    ```Python
    {!> ../../../docs_src/security/tutorial001.py!}
    ```

## 运行

!!! info "说明"

    先安装 <a href="https://github.com/Kludex/python-multipart" class="external-link" target="_blank">`python-multipart`</a>。

    安装命令: `pip install python-multipart`。

    这是因为 **OAuth2** 使用**表单数据**发送 `username` 与 `password`。

用下面的命令运行该示例:
Plain Text - Registered: Sun May 05 07:19:11 GMT 2024 - Last Modified: Wed Mar 13 19:02:19 GMT 2024 - 7.4K bytes - Viewed (0) -
docs/en/docs/tutorial/security/first-steps.md
    !!! tip
        Prefer to use the `Annotated` version if possible.

    ```Python
    {!> ../../../docs_src/security/tutorial001.py!}
    ```


## Run it

!!! info
    First install <a href="https://github.com/Kludex/python-multipart" class="external-link" target="_blank">`python-multipart`</a>.

    E.g. `pip install python-multipart`.

    This is because **OAuth2** uses "form data" for sending the `username` and `password`.
Plain Text - Registered: Sun May 05 07:19:11 GMT 2024 - Last Modified: Wed Mar 13 19:02:19 GMT 2024 - 8.9K bytes - Viewed (0) -
docs/ja/docs/tutorial/security/first-steps.md
まずはこのコードを使って、どう動くか観察します。その後で、何が起こっているのか理解しましょう。

## `main.py`を作成

`main.py`に、下記の例をコピーします:

```Python
{!../../../docs_src/security/tutorial001.py!}
```

## 実行

!!! info "情報"
    まず<a href="https://github.com/Kludex/python-multipart" class="external-link" target="_blank">`python-multipart`</a>をインストールします。

    例えば、`pip install python-multipart`。

    これは、**OAuth2**が `ユーザー名` や `パスワード` を送信するために、「フォームデータ」を使うからです。

例を実行します:
Plain Text - Registered: Sun May 05 07:19:11 GMT 2024 - Last Modified: Thu Apr 18 19:53:19 GMT 2024 - 10.5K bytes - Viewed (0) -
docs/pl/docs/tutorial/first-steps.md
Przejdź teraz do <a href="http://127.0.0.1:8000/docs" class="external-link" target="_blank">http://127.0.0.1:8000/docs</a>. Zobaczysz automatyczną i interaktywną dokumentację API (dostarczoną przez <a href="https://github.com/swagger-api/swagger-ui" class="external-link" target="_blank">Swagger UI</a>):  ### Alternatywna dokumentacja API
Plain Text - Registered: Sun May 05 07:19:11 GMT 2024 - Last Modified: Thu Apr 18 19:53:19 GMT 2024 - 9.8K bytes - Viewed (0)